In this blog post, we will walk you through the five steps of how to fix a chipped paint crib and give you some solutions to prevent your baby from chewing on the crib.
The products mentioned on this page were independently selected by Babycious editors. As an Amazon Associate, Babycious may earn a commission from qualifying purchases.
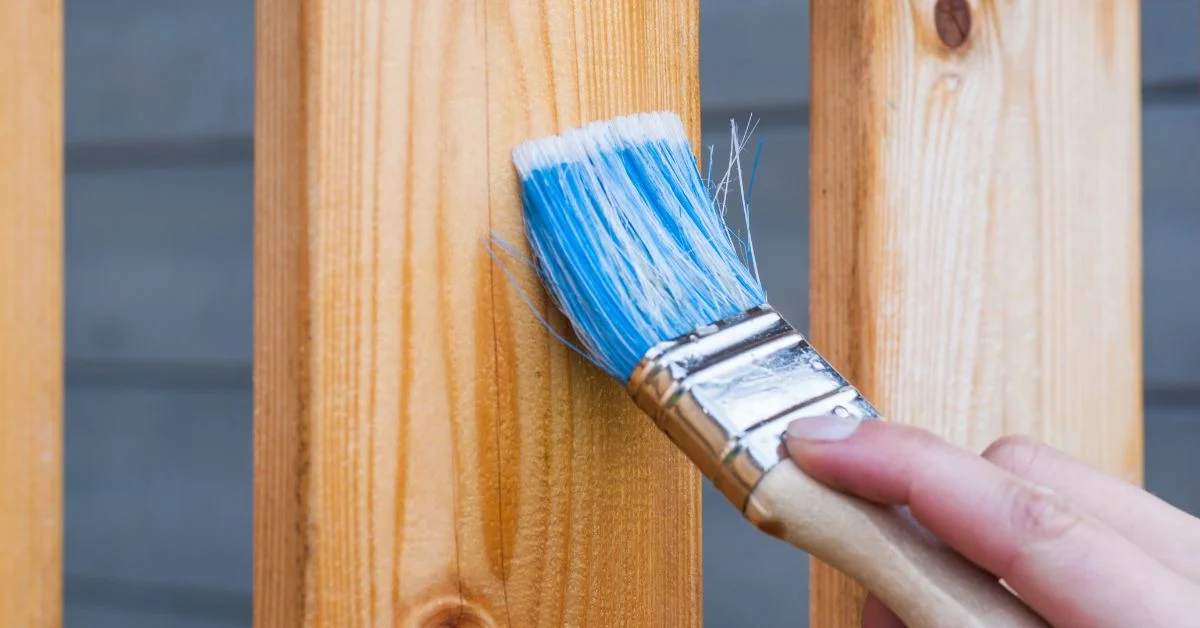
Photo by Pixabay
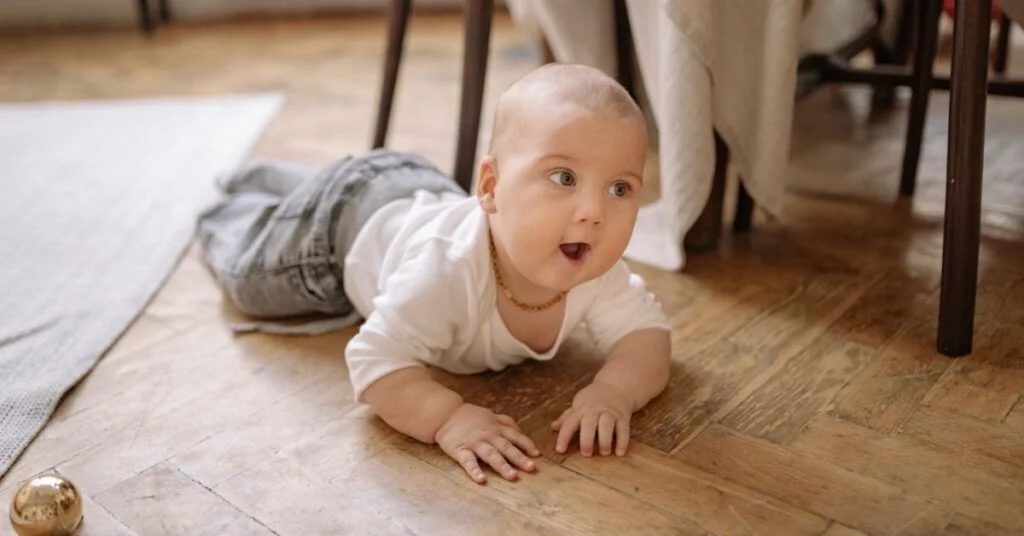
Babies are little woodchucks that will chew on anything when they’re teething, including the brand-new crib you just bought. Some babies will nibble on their crib more than others, and they could do it extensively if you don’t notice and take action early on. So if you have already caught your little one in the act (chips of paint on the mouth and spots of chipped paint on the crib rails) you have come to the right place.
In this blog post, we will walk you through the five steps of how to fix a chipped paint crib and give you some solutions to prevent your baby from chewing on the crib.
If you’re worried about your baby ingesting paint chips, don’t panic. If the crib is relatively new, it should be made with lead-free paint. There are strict regulations when it comes to painting products that may come in contact with children, so you can rest assured that your baby is safe. That being said, it’s still not advisable to let your baby chew on the crib and risk swallowing paint chips and leaving crib teeth marks.
It’s best to tackle only the crib part that shows paint chipping, as opposed to painting the whole crib which would be a more extensive and time-consuming project.
Before deciding on the most appropriate fix for the chipped paint, it’s important to determine the severity of the damage. If there are only a few small chips in one area of the crib like one rail, you could get away with repainting just that section. If the damage is more widespread, you may have to repaint the entire crib. Just know that painting the whole crib can be tricky because there is a large surface area to paint and many singular spots like where the rail meets the slats, and also because you will need to seal the paint properly so that it holds up to daily use and wear and tear.
What You Will Need to Fix Chipped Paint
If you have chipped paint on your crib, painting it (or painting the parts that have chipped paint on them) is the only way to restore it to its original condition.
The first thing you need to do is gather the supplies. For this project, you will need:
- Fine grit sandpaper (60, 120, 220)
- Primer
- Baby safe paint in the color of the crib
- Polycrylic to seal the paint
- Paintbrush or roller made for laminates
The quantities of primer, paint, and polycrylic will depend on the surface area you’re painting and whether you’re just doing touch-ups or painting the whole crib.
Fixing the Chipped Paint on The Crib in 5 Steps
Now that you have all the supplies and tools you need, follow these five steps to fix the chipped paint on your crib:
Step One: Sanding the Area
To prep the crib for painting, you will need to sand down the area to create a smooth surface. Sanding the crib part is what allows the fresh paint to adhere to the crib and will smooth out the edges of the previous chips so that it wouldn’t chip again.
Begin with low grit sandpaper like 60 and work your way up to 220. While sanding, pay close attention to the chipped paint and work on them more intensely than the rest of the crib so that the surface doesn’t feel rough. If you’re just doing touch-ups, you can probably just sand the area with 220 grit.
Sanding will create some dust, so make sure to do this in an open and well-ventilated area. You can also use a vacuum with the hose attachment to suck up the dust as you go.
Step Two: Applying the Primer
After sanding, you will want to apply a layer of primer to the crib. This is an important step because it provides a barrier between the paint and the crib, helps the paint to adhere better, and provides a more even surface for painting.
Choose a primer that is made to cover laminates and that is a bit thick so that you can build it up to fill in the chipped areas.
For a good result, you will need to apply two coats of primer. Use a brush or roller specifically made for laminates to apply the primer in long, even strokes. Let the primer dry completely before sanding it down with the 220 grit sandpaper until it’s smooth. Wipe away any dust created from sanding before applying the next coat of primer and let it dry before moving on to painting. This will usually take about an hour or two.
Step Three: Painting the Crib
Now it’s time to paint! Matching the new paint to the existing color of your crib can be surprisingly challenging, even if it’s completely white. If your crib is from IKEA, they have a few shades of their colors of paint that you can buy, otherwise, try to find the closest color match at your local hardware store, or you can go with a distressed look and use a slightly different color.
Choose a paint that produces a solid and intact finish that won’t come loose over time. Stay away from water-based paint that dissolves in water and could come off if your baby licks the crib. I would recommend using a paint with a matte finish like an eggshell finish that has very low gloss and might better mask small imperfections on the surface.
Use a paintbrush or roller made for laminates and apply two to three coats of paint, letting each coat dry completely before adding the next. If you’re doing touch-ups, one coat should be sufficient. When painting, start with just a small amount of paint on your brush so that you don’t overload the surface and create drips.
Step Four: Adding Polycrylic to Seal the Furniture
After the paint has dried completely, you will want to add a layer of polycrylic to protect the paint and the crib. This will also help to seal in any chips that you filled in with primer or paint so that they don’t come loose over time.
Polycrylic comes in a clear finish so that it won’t alter the color of your paint job, and you can apply it with a brush or roller just like you did with the primer. Apply one to two coats, letting each coat dry completely before adding the next.
Step Five: Let the Paint Cure
Now that you’ve completed all the steps, let the crib dry in a well-ventilated area for about a week to fully cure the paint before adding anything back to it.
A fully cured finish should be totally inert and non-toxic because once the solvents have completely evaporated it becomes devoid of any active ingredients that can still off-gas or be leached into whatever it comes into contact with. So your painted crib should pose no harm to your child in the future.
Extra Steps for Preventing Future Paint Chipping
While fully cured finish is non-toxic, it is by no means food safe! So there are still a few extra steps you can take to further protect your child from ingesting paint chips or being exposed to excessive paint dust.
The most practical way to protect both your crib rails and your child from paint chips is to cover the rails with either clear plastic guards or fabric pads that tie on the rails. Fabric pads worked great for us because they were easy to put on and take off, and we could wash them if they got dirty, but they didn’t cover the corners properly though so I cut some leftover fleece fabric and tied it down to my little beaver’s favorite corners: cheap, easy and it did the trick!
Another thing you can do, once your baby starts teething is to refocus the nibbling activity to a teething toy to give them an alternative to chomping on the crib rails. We used this opportunity to start using a soother clip (the ones with the silicone bead) and it helped to shift her attention from the crib because, at the end of the day, teething babies need something to chew on to help their teeth cut through, it just needs to be something safe!
Final Thoughts
So there you have it, those are my tips on how to fix a chipped paint crib and how to prevent it from happening again in the future. Do you have any tips or tricks on how to keep your baby’s crib looking new?
The purpose of this article is informative and educational only. It’s not a substitute for medical consultation or medical care. We do not accept any responsibility for any liability, loss, or risk, personal or otherwise, incurred as a consequence, directly or indirectly, from any information or advice contained here. Babycious may earn compensation from affiliate links in this content.